Sunday, June 19, 2011

Finished!

So, it's much later now...summer's here and Red's finally on the road! After some tweaking with the valves and getting the carb dialed in, the old dude finally took his first trip out on the road. As said before...he won't be winning any races...but cruises along just fine. At this point, I consider the project done...although there all some little odds and ends I'll probably do here and there.


Friday, March 11, 2011

We're running....sort of.

Well, we're wrapping things up now... New crossmember installed, emergency brake drum powdercoated and put back in, rear driveshaft put back in. We fired it up in hopes of taking her for a quick drive around the block, but the thing is running like utter crap. The heater core is pouring antifreeze into the cab, the motor is not running well...I've got to go back through things and figure out where the problem is. Stay tuned.

Below, the freshly powdercoated rear drive shaft.


Emergency brake drum, much cleaner than the grease infested transfer case...gotta wait until it warms up to take the pressure washer to it!


Inside...I took a piece of diamond plate, powdercoated, and riveted it to the dash to cover the hack-job someone did to put a radio in this thing. The glass ball on the first transfer case stick is the shift ball that was on my Jeepster when I bought it (seemed too nostalgic to pass up) and the 3-ball is an antique ball from the 1920's.

Saturday, February 19, 2011

Finishing up brakes...

So it had been awhile since I had done a ton of work to the Jeep...today I made up for it. My original plans were to use the old front 10" brake backing plates from my Jeepster on the rear of Red...but when I found out the wheel cylinders could not fit because of the axle tube flange being in the way...I opted to just put the stock 9" brakes back on the rear. I installed a Lockright locker in the rear, stuffed the axles back in, and here's a shot of the brakes with the drum ready to go on.


Shot of the freshly-stuffed Lockright locker for the rear.

Shot of the freshly powdercoated rear diff cover.


Then onto the fronts, where I did another disk brake conversion on the front. Feel free to email me if you have any questions on how to do this. Essentially you use Chevy truck caliper brackets, which bolt right up to the Dana 30 front, Chevy truck calipers, pads, and hoses, and rotors from a 78-79 CJ7, which oddly enough, fit a 70-72 International Scout too. Everything bolts up like magic. No more crummy 9" front drum brakes!

Sunday, January 23, 2011

Brake and axle tear down.

So the next step was to completely disassemble the axles and brakes. I plan on upgrading the fronts to disc, just like I did on my Jeepster. I have the Jeepster's old 10" front backing plates which are going to be put on the back of Red. Should work great. Inside though, there's a lot of work to be done. New Tie Rods and king pin bearings are in order, along with new axle seals in the back. The fluid that come out of both diffs was black molasses. Certainly good that its all being re-done. The rear Dana 44 is being stuffed with a Lock-rite locker. No more open diff..but annoying ratchety noises when I go around corners...you just can't win at everything.

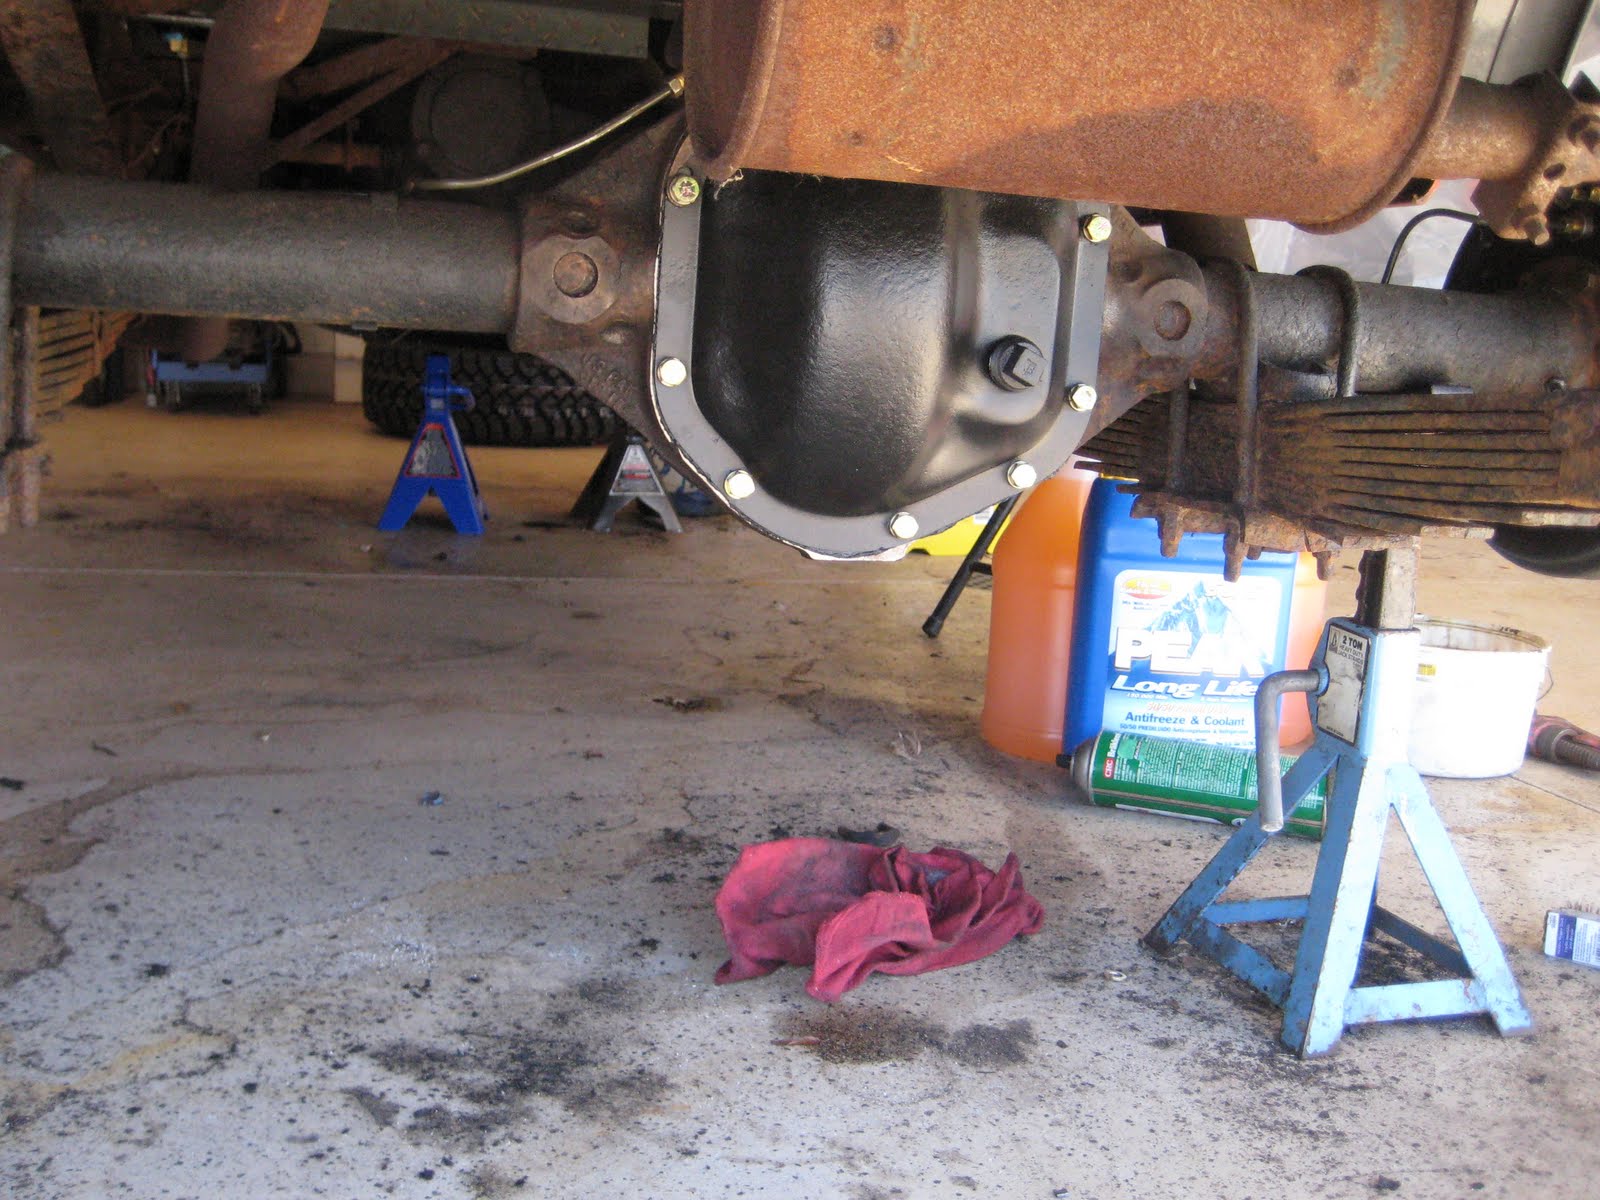
Here's both rear axles...the hubs wouldn't come off, so the backing plate had to come off with it.


The Front.


The rear.
All the loose parts are going to be powdercoated, and I took all of them down to my trusty self-serve sandblasting place for clean up. This is what comes out. Ready for coating.

Sunday, January 9, 2011

Floors done, u-pol coating.

So at this point, the interior was masked off and sprayed down with u-pol truck bedliner. It's a 2 part bedliner that's thick and bulletproof. Works fantastic and I'd recommend it to anyone. If you've never used U-pol Raptor liner...it is badass. It is as thick as Rhino lining, you spray it with a provided spray gun in the kit that shoots at 65-70PSI...beautiful. Tough as hell. At this point, the gas tank was put in and secured.


After this, I fixed the 60 some year old turn signal with a little De-oxit and WD-40, and disassembled the brakes. Next step, get the brakes done.

Sunday, January 2, 2011

Finishing the floors...

So the next two days of work were spent getting the rear fenders whipped into shape. The trouble here is that the previous owner decided to screw in these repair panels to cover the random rust holes in the inside fender long ago. Did he use galvanized or sheet steel? Nope...he used...aluminum. Super. Can't weld that. I would have just replaced both fenders with new replacements, but to do so requires welding to the walls of the tub, which means melted paint on the outside, which means I was going to be repainting Red before I wanted to. So I opted to fix them with some diamond plate left over from the Jeepster and make Franken-fenders! The bottom of the diamond plate strip is welded directly to the rear floor from the outside underneath. The top is then riveted to the aluminum portion and seam sealed. When its all done and coated in U-pol, it'll look nice.


Here you can see the front fender corners. The driver side (shown here) was really bad...the whole front side of the fender had to be cut out and replaced. Very low temp welding as the metal was paper thin. The edges were cleaned up with the plasma cutter and then ground down to make a nice edge. Right now the front edge is pretty ugly.


Here's the front of that bad fender...welded in...with the rust-ridden piece cut out to the left.


The final stage was to secure the two removable sections. The original system used cage nuts with bolts...and most of those were re-used. In the spots where new metal was put in, I simply used weld-nuts underneath and bolted down. After that was done, all visable seams and weld-joints were coated in seam sealer, and the bare metal surfaces got a mist-coat of etching primer, to prepare them for the U-pol truck bed coating that was next. Next step, to mask off everything that DOESN'T need coated, as the process of spraying U-pol can be messy.


Wednesday, December 22, 2010

More floors (again)...

So at this point, I managed to score a floor section off of ebay that is original, but damaged. These suckers cost over 500.00 to buy (rip off) if you buy them complete...I opted to buy the damaged one that was just missing the bottom braces and had a cut in the metal. Big deal. Easy fix, cost me 90.00 instead of 500.00. I simply welded two pieces of U-channel underneith for support, and ended up trimming the back anyways. Here you can see the back cargo section mounted, with two carrier bolts securing it to the frame. I re-used some rubber pads off of Betty, my 1950 Buick underneith the bolts.


Here is the front driver floor, where it meets the riser. You can also see the cargo area stitched in. This will all be covered in seam sealer and then shot with U-pol bed liner.


Here's the front of the driver's side, with the matching diamond plate kick piece that helps hold the two seams together.


The center bolt-on sections were sandblasted, and the one repaired. At this point, the bottom side is painted in Eastwood's rust encapsulator, which gives you a bullet-proof rust inhibitor. Next they'll be bolted in place and the front should be ready to seam-seal.